This is an old revision of the document!
Installing Giocoso on macOS
1.0 Introduction
By way of introduction to the topic of installing Giocoso on macOS, I have to make several disclaimers:
- I'm using real, physical hardware
- The physical hardware I have at my disposal are a couple of 2014/15 Mac Minis, a Late 2015 iMac and a late 2014 iMac
- All that hardware is thus using Intel CPUs, not Apple Silicon
- I cannot therefore guarantee that anything I document here will apply to modern macOS releases running on Apple Silicon, though I think it should do
I should also mention that I've also taken one of my old iMacs and put Sequoia on it, thanks to the OpenCore Legacy Patcher and everything worked as expected …but again, that's not a 'proper' configuration, even for Intel hardware. It's obviously not representative of anything that might happen on Apple Silicon, either.
This is why running Giocoso on macOS is certainly do-able, but it's Tier 4 support territory: good luck with it, but apart from this specific article, you're pretty much on your own for getting things to work properly!
I'll also note that pausing and resuming music playback doesn't work on macOS: the way that operating system handles audio is quite different from the way Linux does it, to the point that freezing the music playback process certainly halts music playback, but when you resume, the player will attempt to 'catch up' to clock time, with disastrous results. For now, therefore, the best you can do on macOS is terminate, repeat or skip plays, but pausing/resuming them is a definite no-no: Giocoso won't even show you the option to pause/resume if it detects macOS is in use.
Those warnings out of the way, however, the basic principle of getting Giocoso to run on macOS is, essentially, to install a quasi-Linux 'userland' of tools and utilities, thus creating an environment Linux-y enough for Giocoso to cope. There are two possible ways of doing that: by using Homebrew or MacPorts as a quasi-package manager.
Homebrew supports only newer macOS releases (it works on older ones, but it's not supported) and, to my eyes, works by essentially compiling new software packages from scratch. That's 'clean', but very time-consuming. MacPorts, by contrast, supports much older macOS releases and seems to consist of a bunch of pre-compiled executables which simply get installed. It has a quirky approach to installing things, but is much, much faster than Homebrew. The key point to get across, however, is that if you've ever used Homebrew before, you mustn't now switch to using MacPorts, nor vice versa. It's one or the other, but software mayhem awaits anyone trying to use both.
Giocoso's installer will therefore prompt you to pick one or other package manager -and it's important you pick the one that makes sense for your environment. If you've ever used one of them before, you must continue to use that package installer. If you've never used one of them before (i.e., your system is completely 'clean' and is tainted by neither), my recommendation would be to use MacPorts if you value your time: we are seriously talking maybe 3 or 4 hours to compile the simple utility wget using Homebrew! If you're using a more modern macOS release, however, and using decent, modern and powerful hardware, Homebrew might be a more acceptable and future-flexible way to go.
This documentation will thus chart two paths forward: one, the Homebrew approach; the other, the MacPorts one. Pico one and only one! In both cases, however, you end up with a system that is capable of running Giocoso, so the two paths merge thereafter for the purposes of running and using Giocoso.
2.0 Installing Homebrew
3.0 Installing MacPorts
Before we can install MacPorts itself, we need to install the various command line utilities that MacPorts will expect to find on the system: these are programs that, for example, compile source code into executable binary packages. Fortunately, this is quite easy to do.
Simply open a terminal and type the command:
xcode-select --install
A graphical dialog will ask you if you really want to install the command line tools:
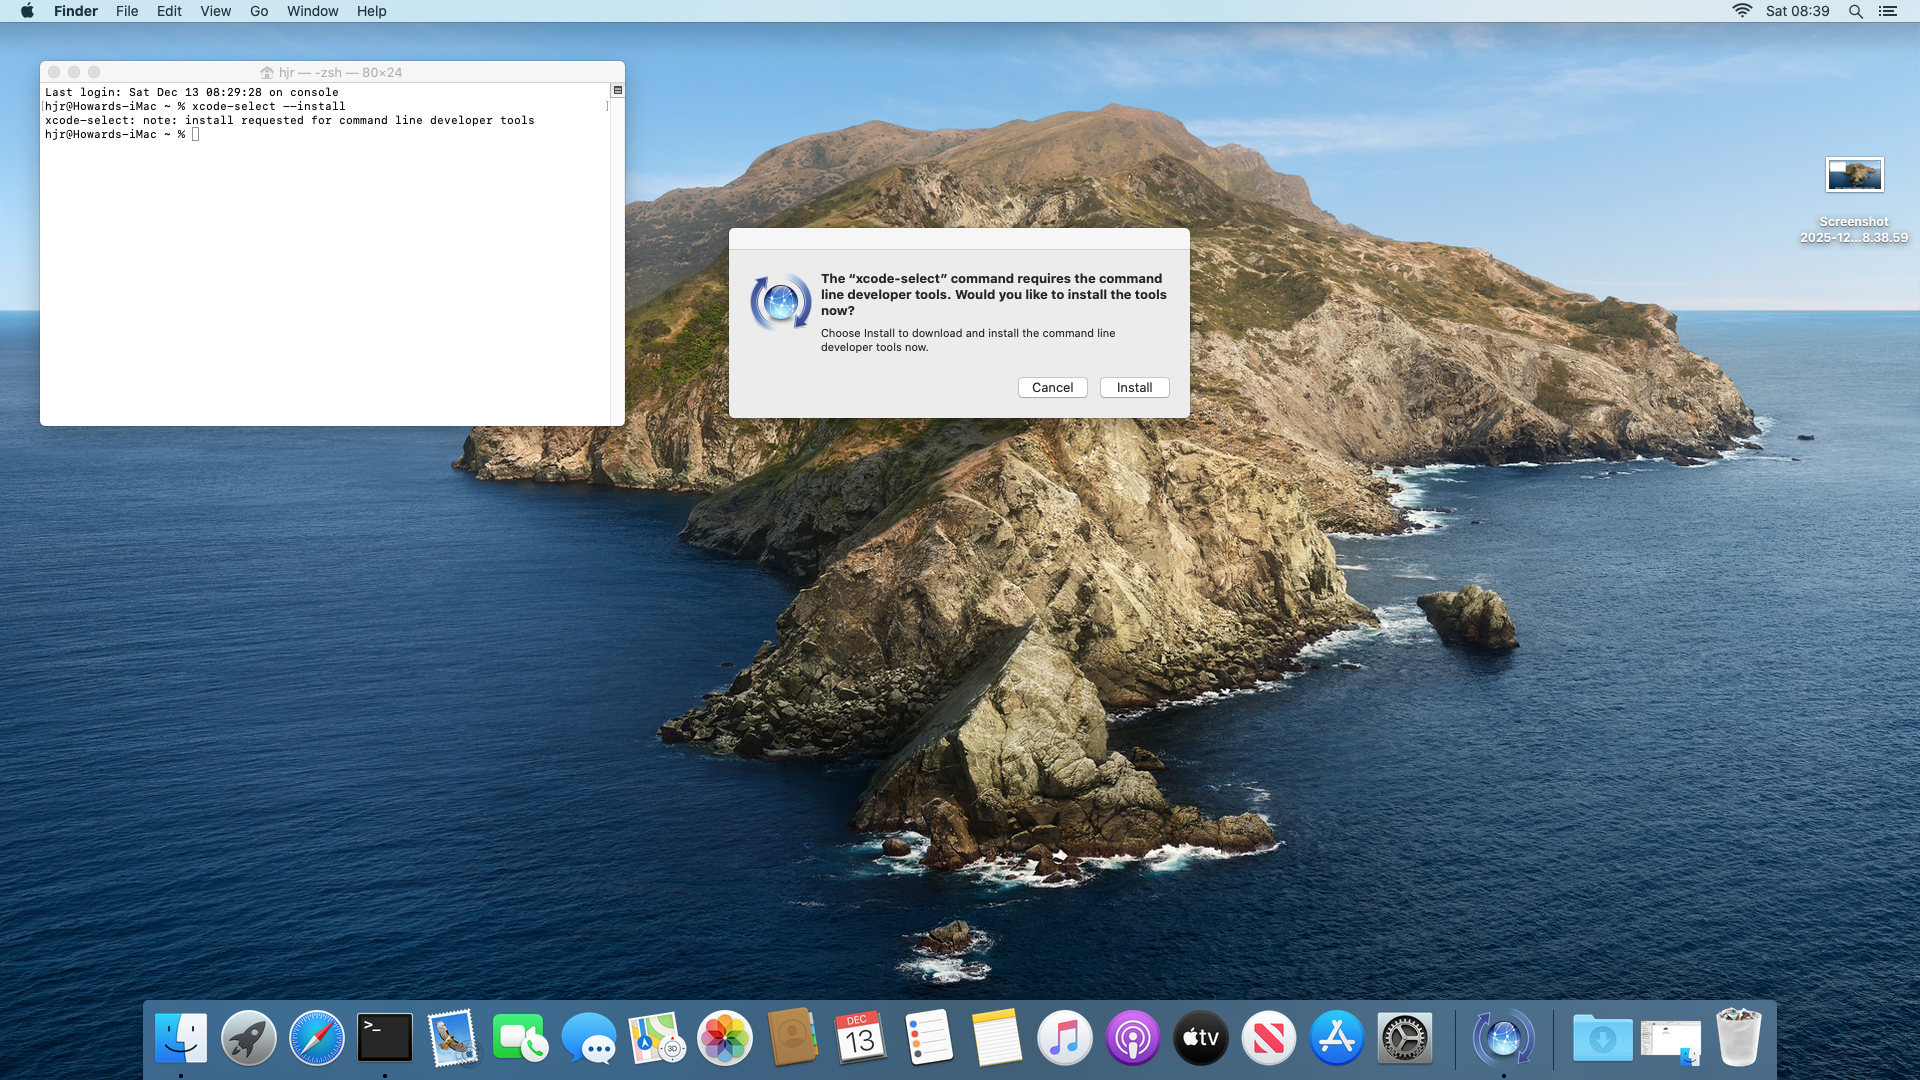
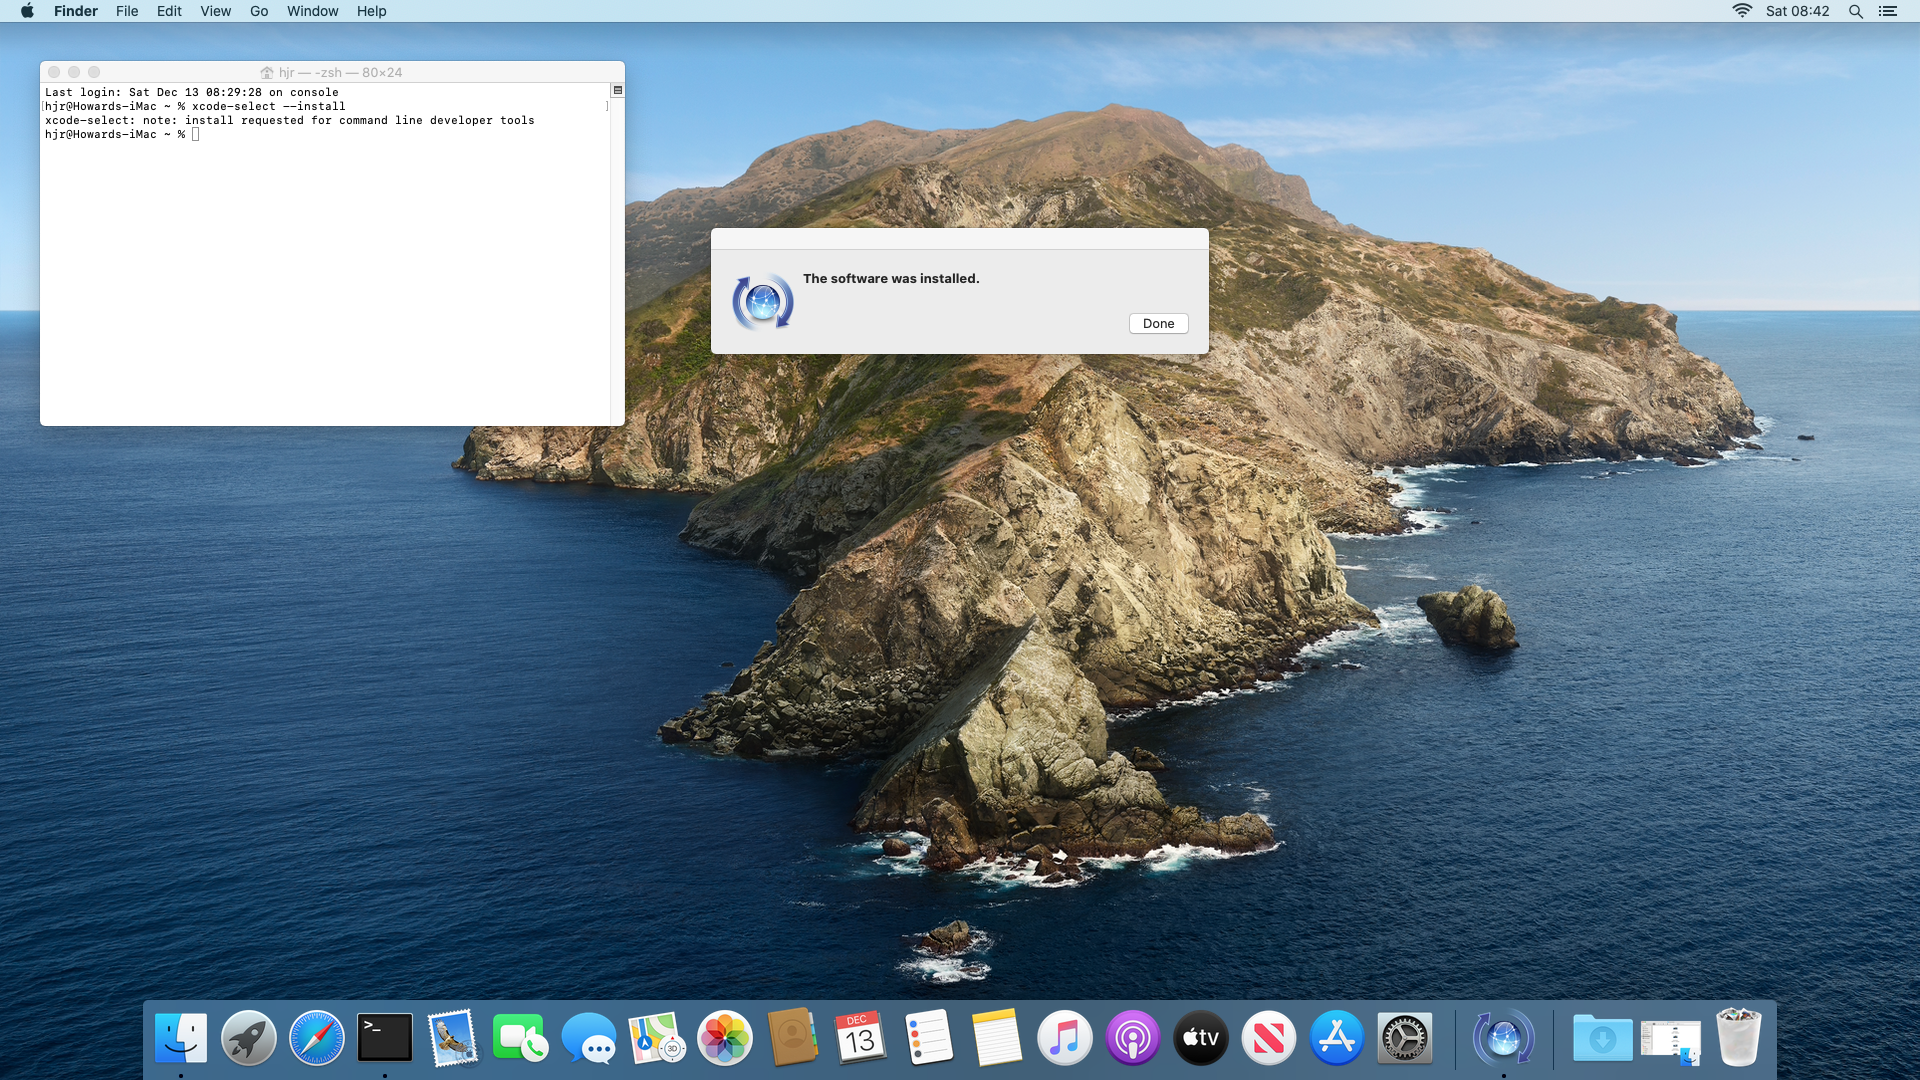
Click [Install] and agree to the ludicrously long licence agreement that appears. A lengthy download of the relevant software then takes place, ending with this:
Once those tools are installed, you need to obtain an appropriate version of MacPorts: different releases of macOS need different instances of the MacPorts software. At the time of writing (December 2025), these were the latest os-dependent releases available:
https://github.com/macports/macports-base/releases/download/v2.11.6/MacPorts-2.11.6-26-Tahoe.pkg
https://github.com/macports/macports-base/releases/download/v2.11.6/MacPorts-2.11.6-15-Sequoia.pkg
https://github.com/macports/macports-base/releases/download/v2.11.6/MacPorts-2.11.6-14-Sonoma.pkg
https://github.com/macports/macports-base/releases/download/v2.11.6/MacPorts-2.11.6-13-Ventura.pkg
https://github.com/macports/macports-base/releases/download/v2.11.6/MacPorts-2.11.6-12-Monterey.pkg
https://github.com/macports/macports-base/releases/download/v2.11.6/MacPorts-2.11.6-11-BigSur.pkg
https://github.com/macports/macports-base/releases/download/v2.11.6/MacPorts-2.11.6-10.15-Catalina.pkg
https://github.com/macports/macports-base/releases/download/v2.11.6/MacPorts-2.11.6-10.14-Mojave.pkg
https://github.com/macports/macports-base/releases/download/v2.11.6/MacPorts-2.11.6-10.13-HighSierra.pkg
https://github.com/macports/macports-base/releases/download/v2.11.6/MacPorts-2.11.6-10.12-Sierra.pkg
Check the Macports website for the actual versions current at the time you want to install. There are versions available for macOS releases earlier than Sierra, but installing Giocoso on such ancient operating systems is definitely not supported at all, so be my guest but you're on your own for them!
Once you've downloaded the correct package for your operating system, visit your Downloads folder in Finder and double-click the pkg file to launch the installation wizard:
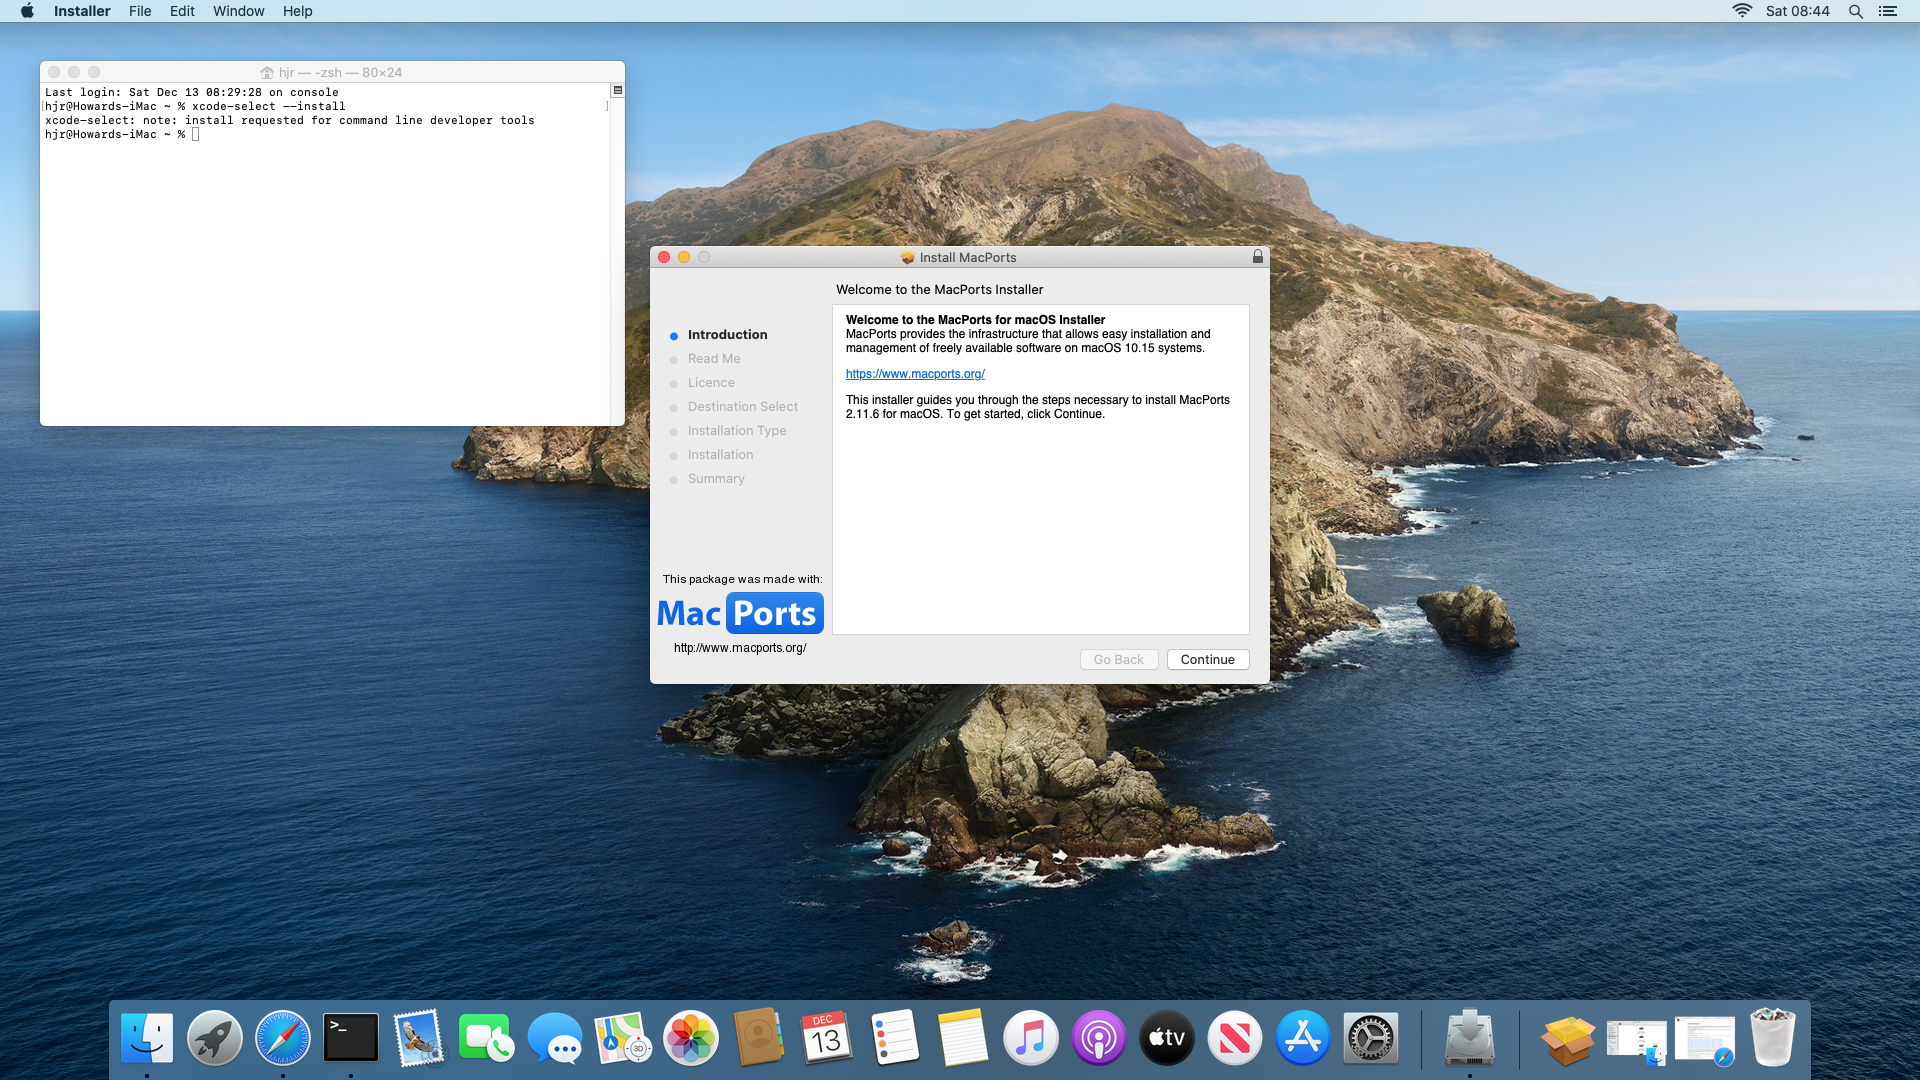
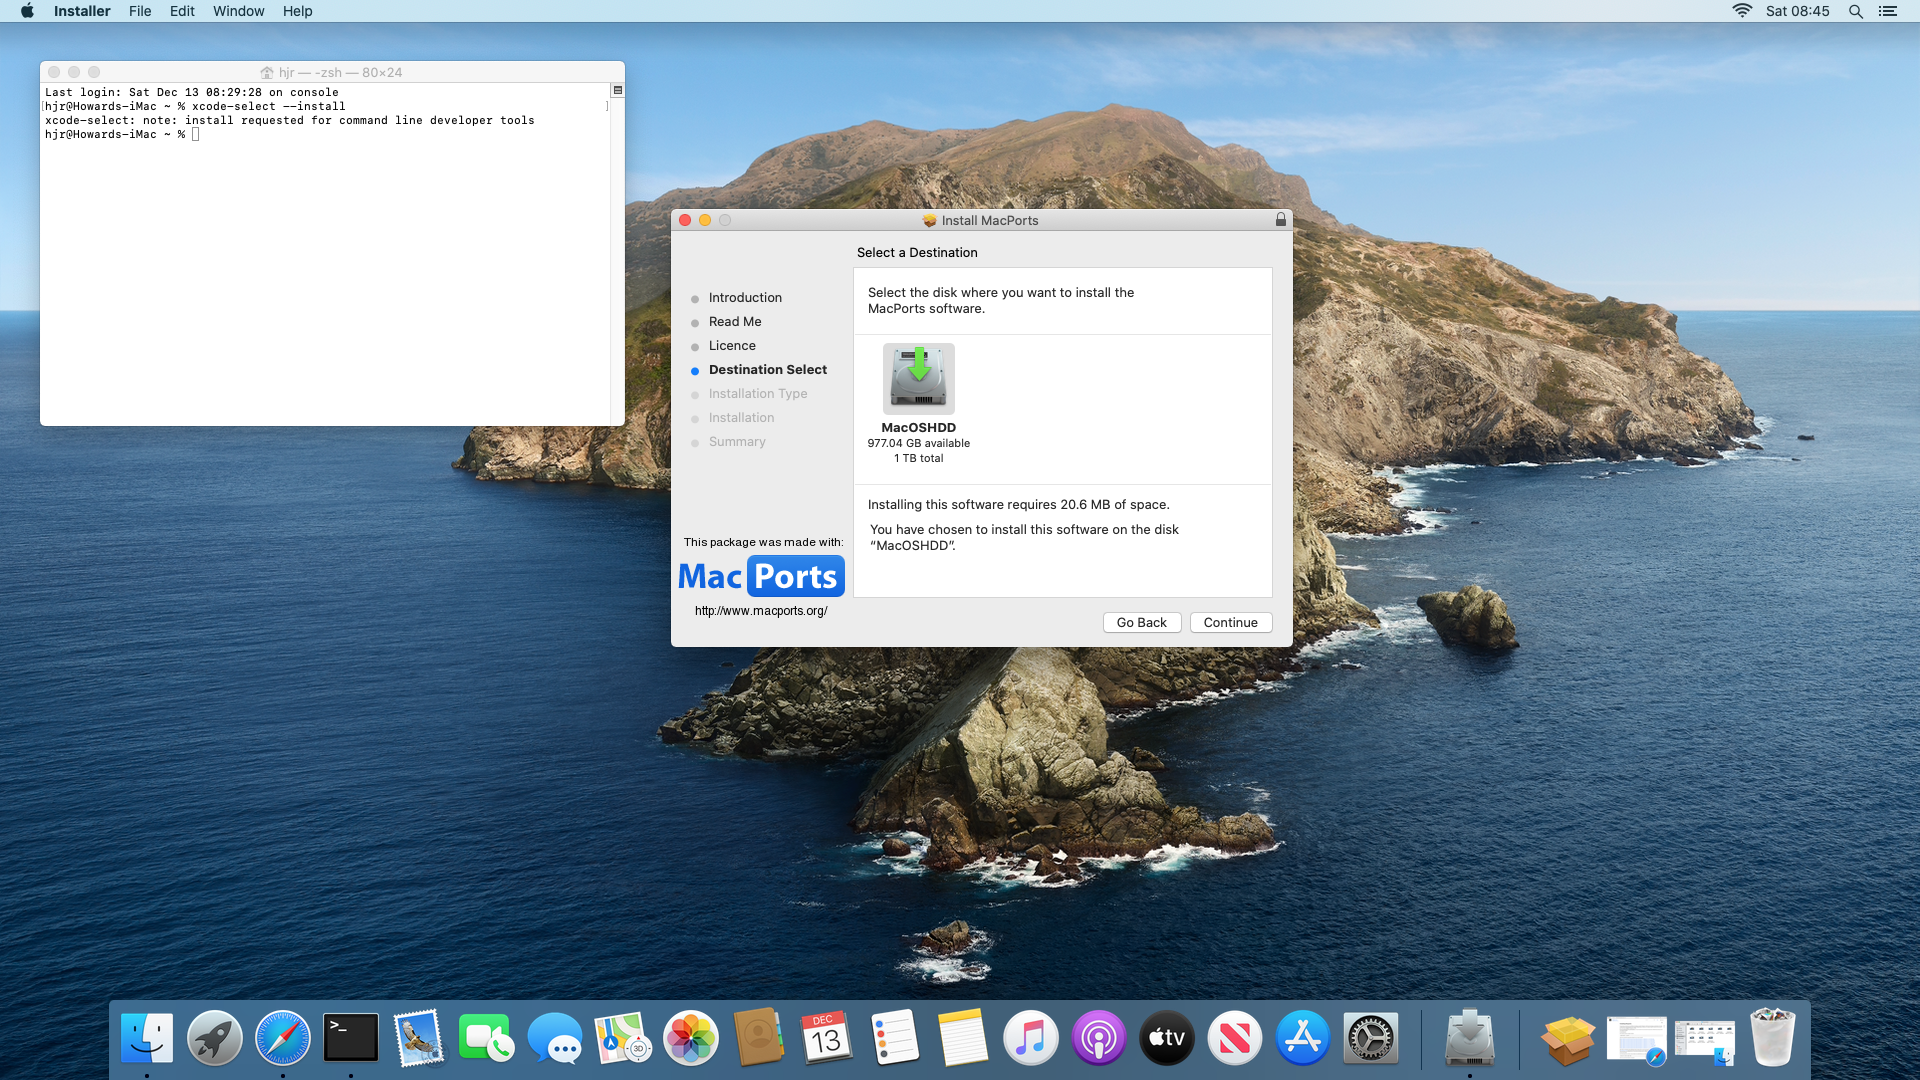
Click your way through the wizard, agreeing to the inevitable licence, and choosing an appropriate hard drive to install onto:
You'll be prompted for your administrator password and then the software installation will begin. Once it's complete, you'll be asked whether to move the downloaded MacPorts package to the bin or keep it: either answer is fine, but you won't need to install MacPorts again, so you might as well bin the package!
Next you will need to add the MacPorts path to your system's PATH variable: you do that by typing the command:
sudo nano /etc/paths
At the very top of the file, before all other listed folder names, add the line:
/opt/local/bin
…and then save the modified file. It is important this new path appears first in the file, because that determines the order in which macOS searches for executables -and we want the MacPorts executables to be found before macOS's built-in ones. Only in this way can we be sure, for example, that the MacPorts version of Bash is used in preference to macOS's ancient version of Bash (which won't be able to run Giocoso properly).
You make this change of path variables take effect by closing your existing terminal window and opening a new one.
Once that's all done, you need to install a couple of software packages before you can attempt to install Giocoso. Just type the command:
sudo port install wget bash
You'll see MacPorts proposing to install a bunch of related software besides those two packages:
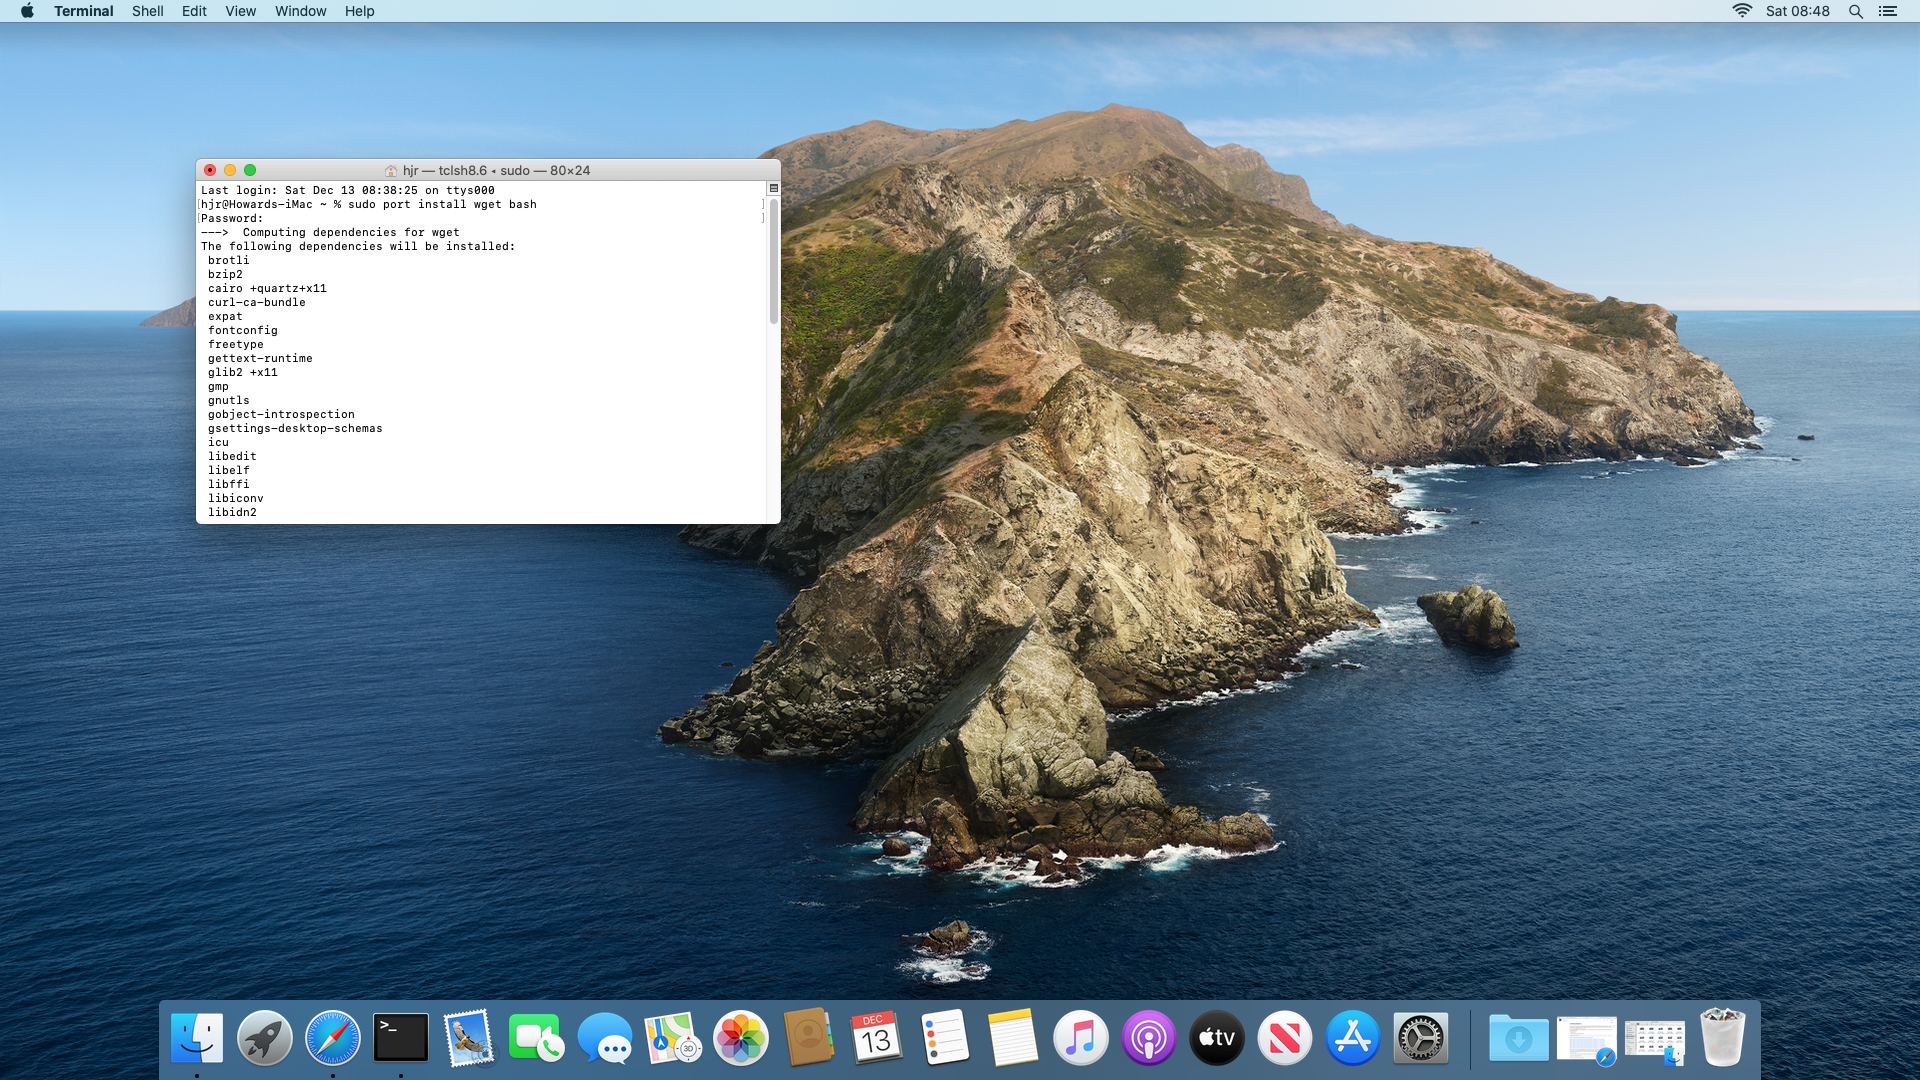
When prompted, say 'y' to continue. The software installation will be relatively swift, and will end with a wall of text that you can safely ignore:
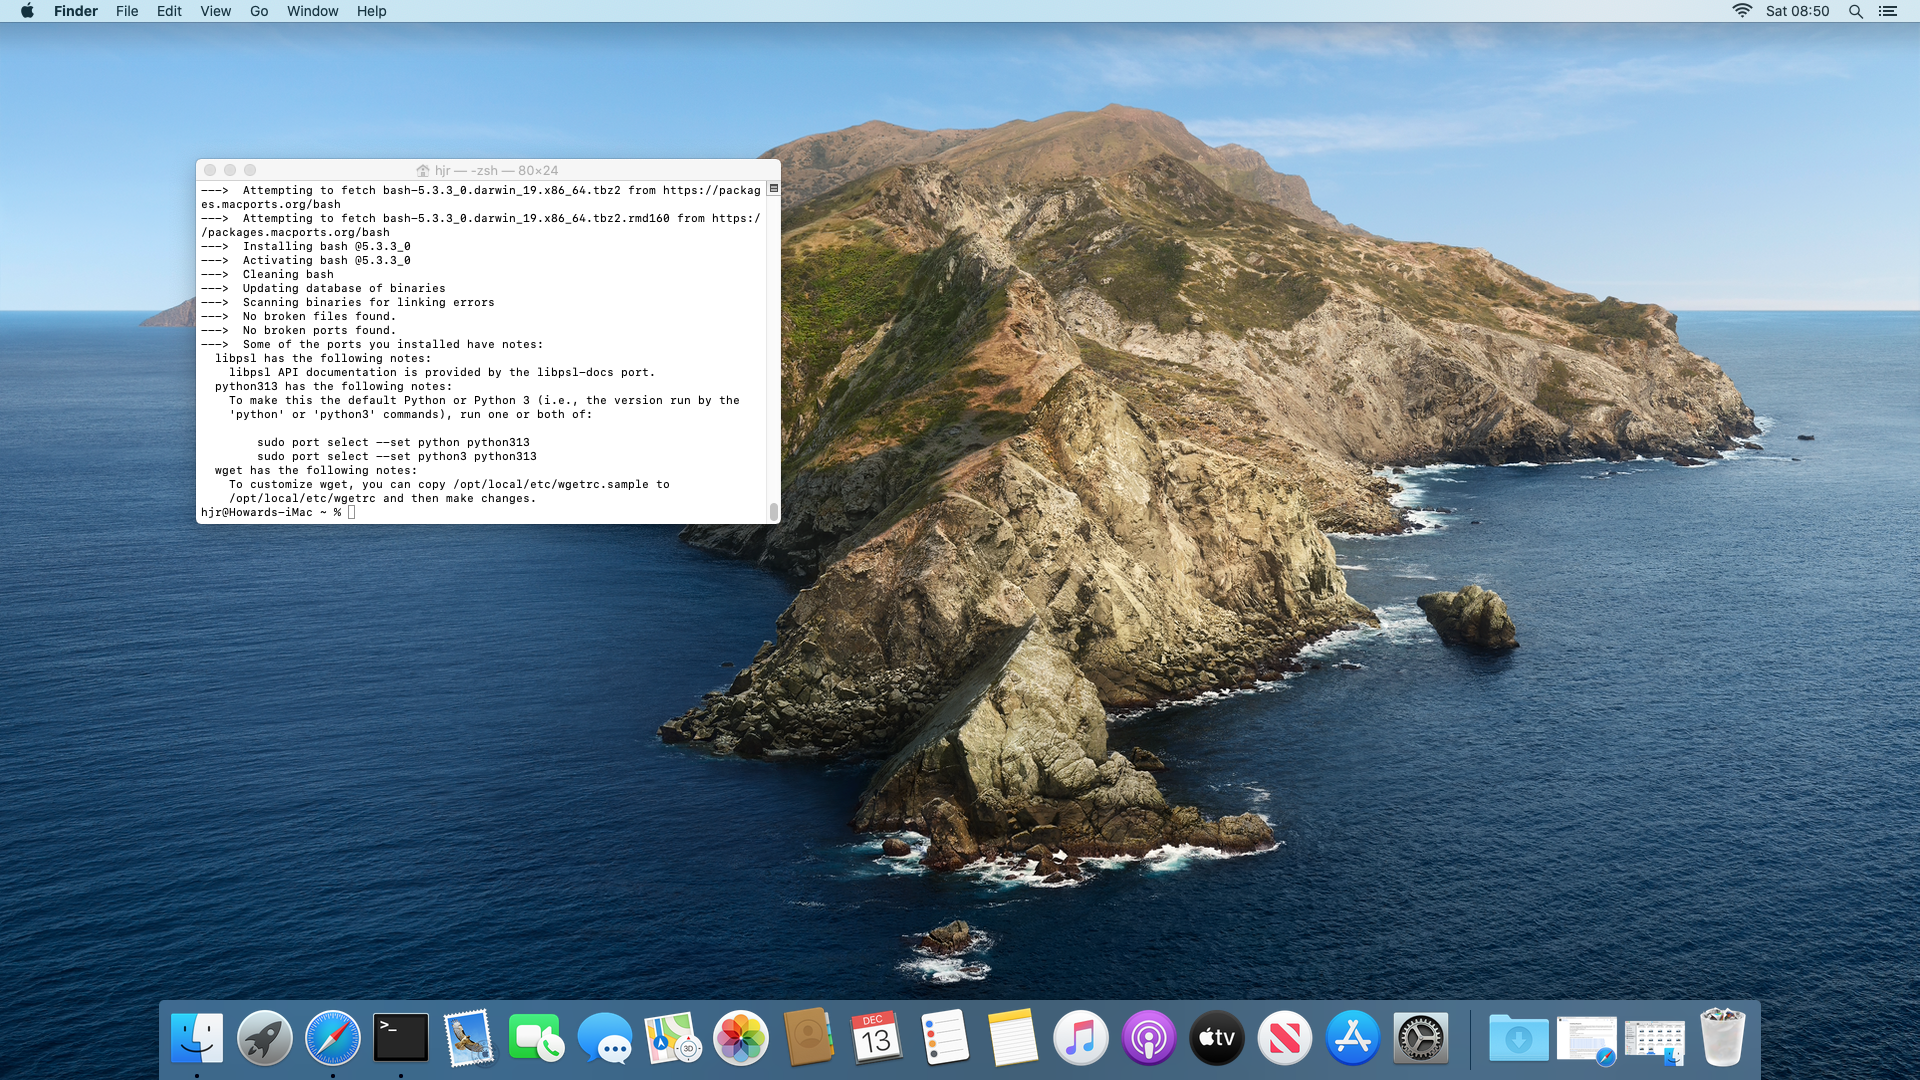
Once you see that, your system is ready to install Giocoso. Be sure to close your terminal again at this point and open a new one: if you don't, you'll be trying to launch the Giocoso installer in a terminal that only knows about the existence of the ancient, built-in version of Bash, which won't work. Only a freshly-opened terminal will notice that you've just installed a Version 5+ copy of Bash and make use of it.
4.0 Installing Giocoso
Now you're ready to install Giocoso, you first need to obtain the installation script itself. That's easily done in a terminal, with the command:
wget software.bbritten.com/gioinst
To launch the downloaded script, you then just type the command:
bash gioinst
That should immediately trigger the following display:
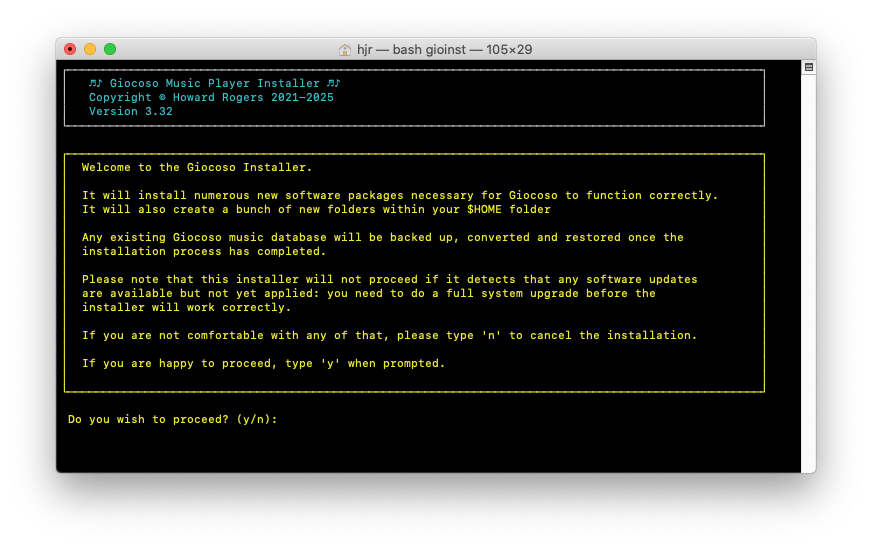
This text just warns you that an assortment of software is about to be installed on your system and some configuration changes will be made. You can back out at this point, by tapping 'n', and nothing at all will have changed on your PC… but if you tap 'y', the installer will proceed. You'll first be asked to supply the sudo password, so that the installer script can obtain the root privileges it needs to do its work. Once you supply that, you'll see this bit of text:
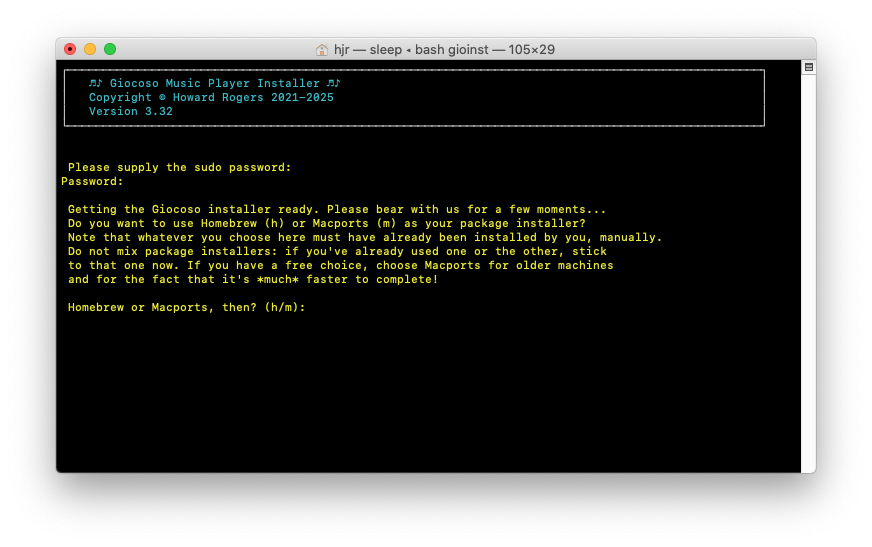
This is quite a crucial prompt to get right. Giocoso can use either Homebrew or MacPorts to install the software it depends on …but it's vital that it shouldn't use the package manager that's inappropriate for your system. If you've installed Homebrew, Giocoso mustn't try to use MacPorts and, of course, the opposite also applies. Your job is therefore to tap 'h' or 'm' to tell the installer which package manager to use during the installation process. Make sure you pick the right one, or mayhem will ensue!
As soon as you've selected the correct package manager, the screen will change to this sort of thing:
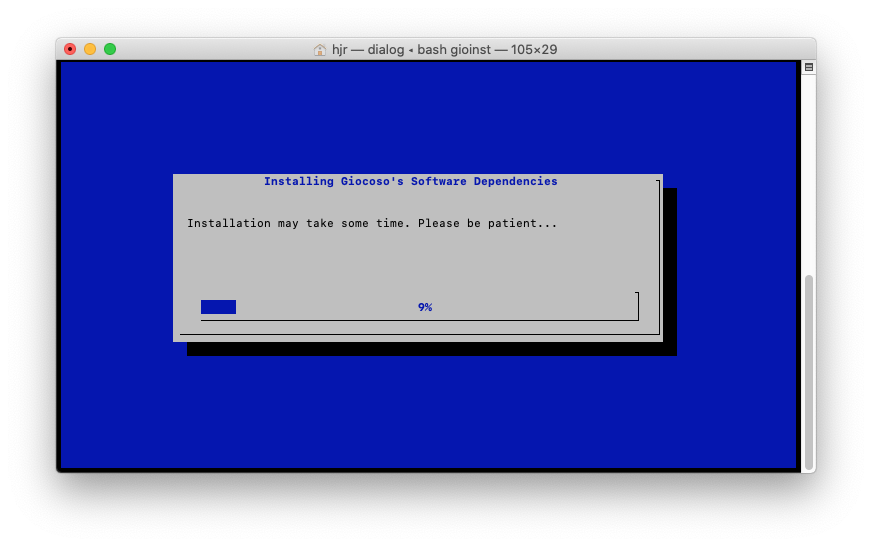
This part of proceedings can take quite a while (potentially a very long time if you're using the Homebrew package manager): be patient and let it do its thing! Eventually, the screen will change to this:
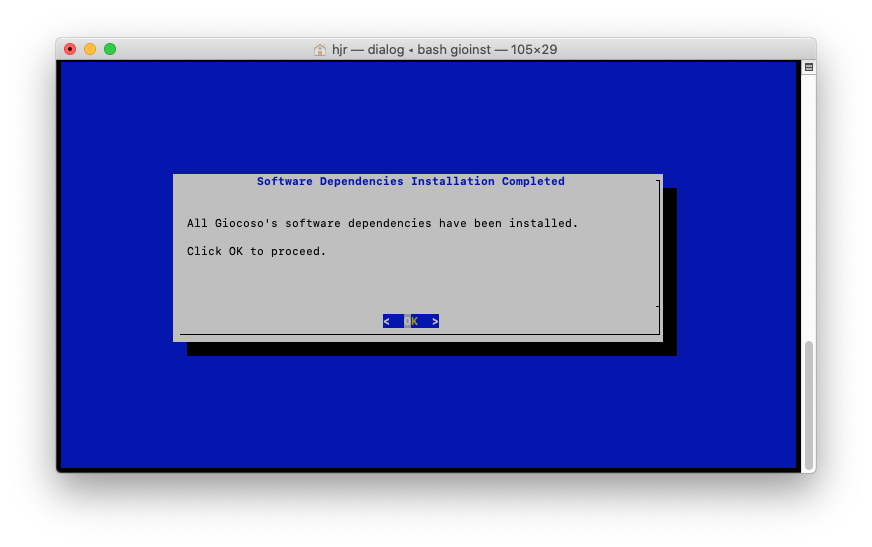
With the software prerequisites dealt with, the installer will now download Giocoso itself: just click OK (or press [Enter]) to move on to that next step:
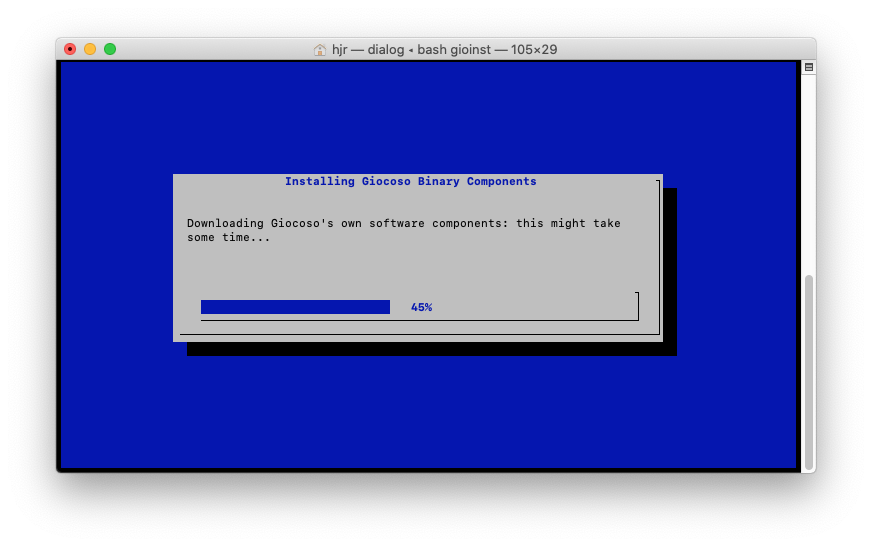
This part of the process will speed by pretty quickly: Giocoso's bits and pieces are measured in kilobytes, not gigabytes! When they've all been downloaded, you'll be prompted once more to begin a verification process, where the installer computes a hash sum for the things it has downloaded and compares those hash values to ones this website thinks ought to be true:
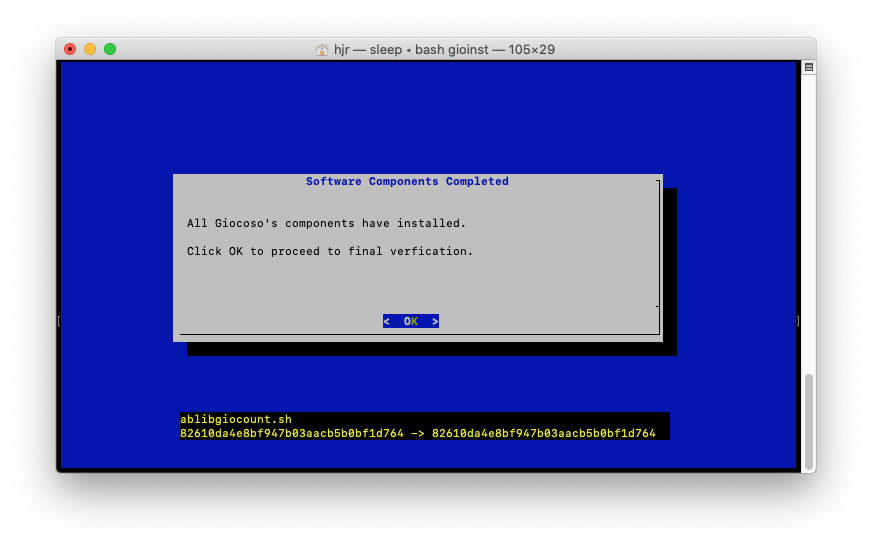
If any mismatches are detected, the installer will try to download the various components again, hopefully with a better result. One way or another, however, you'll end up seeing this:
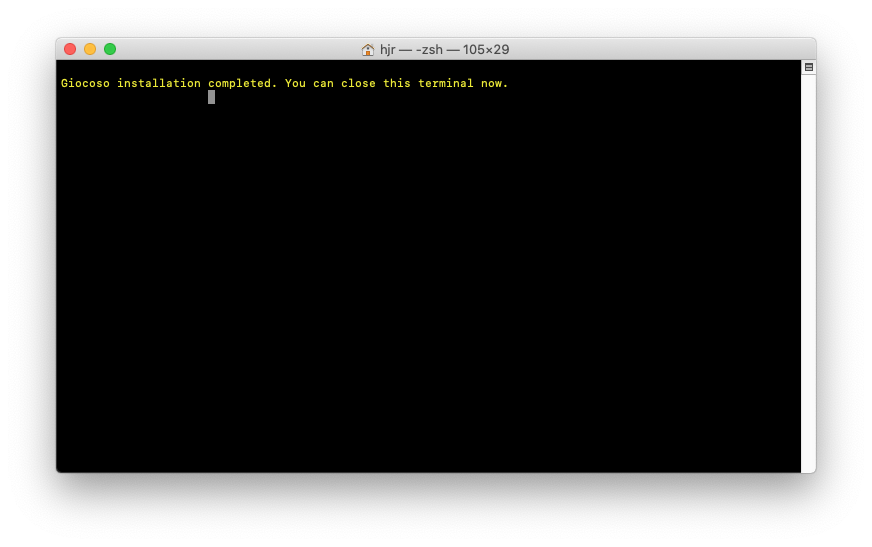
And that's it! Giocoso is now successfully installed and can be immediately launched by typing the command giocoso into a terminal, though the results might not be ideal:
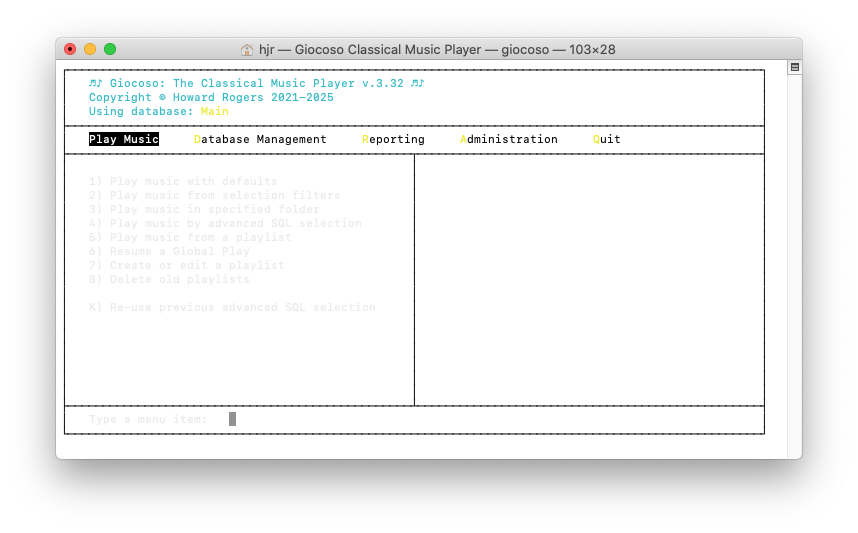
You will note that, running in the standard macOS terminal, the colour scheme used by Giocoso doesn't really work very well, with grey text that's practically impossible to read! We'll sort this out shortly, but for now the point is that Giocoso is installed and works!
5.0 WezTerm to the Rescue!
Appearing in all the wrong colours is not the default terminal's only failing: you'll soon find out that it is not able to display album artwork inside itself, either. Technically, Giocoso displays artwork using the “sixel graphics” protocol… and that protocol has to be support (i.e., 'compiled in') to any terminal application for it to work. The default macOS terminal doesn't do that, so in-terminal graphics are a no-no.
I therefore recommend you run the following command:
sudo port install wezterm
…which will install the WezTerm terminal emulator, which does know how to render sixel graphics. It should appear in the Launchpad display as a black square with a blue “$W” in it.
WezTerm will tend to want open by default using a small window with small fonts: I suggest you would want to change that up a bit. The way you do that is to issue these commands:
cd
nano .wezterm.lua
Paste into the new file the following:
local wezterm = require 'wezterm'
local config = wezterm.config_builder()
config.initial_cols = 103
config.initial_rows = 28
config.font = wezterm.font("Courier New", {weight="Regular", stretch="Normal", style="Normal"})
config.font_size = 16
config.color_scheme = 'Hardcore'
config.default_prog = { '/bin/bash','-lc','/usr/local/bin/giocoso3.sh' }
return config
Save the modified file. Hopefully, most of this is self-explanatory: it tells WezTerm to open at an initial 103 columns by 28 rows; to use the built-in Courier font (more on this below) at 16pt size, and to auto-launch Giocoso when it itself launches. With these parameters configured, launch WezTerm by clicking its icon in the Launchpad:
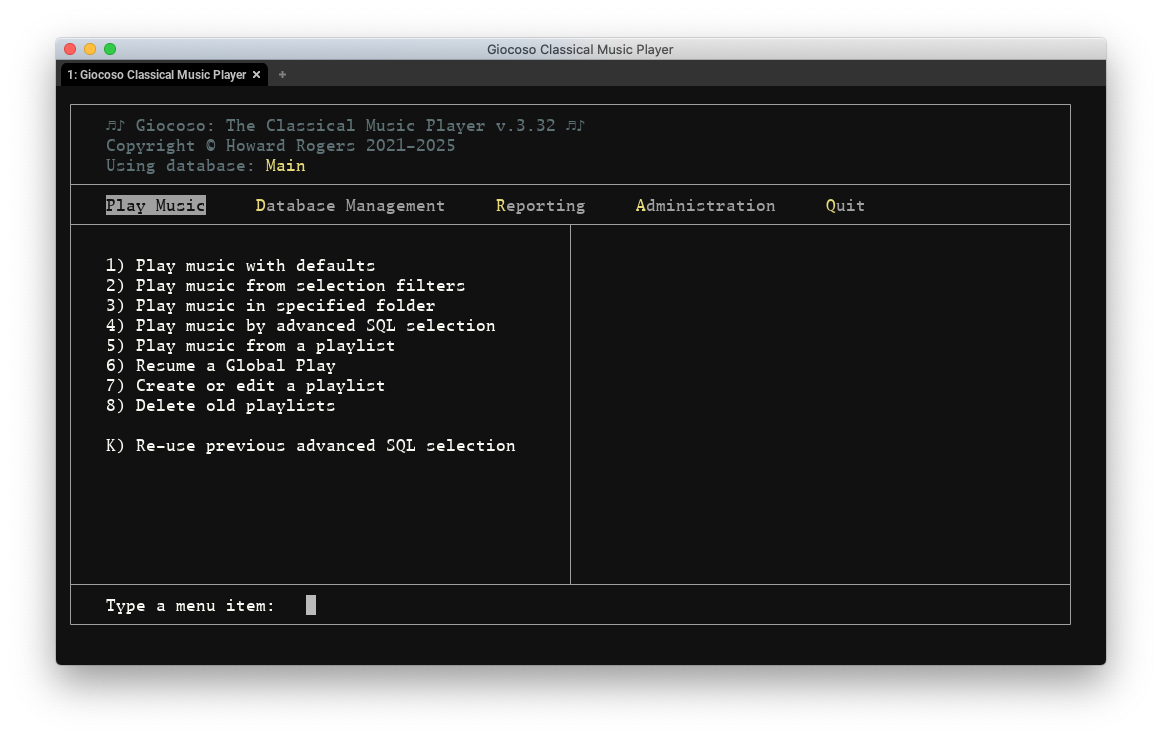
That's a much more readable display than before!
The only problem is that you will probably see this output instead:
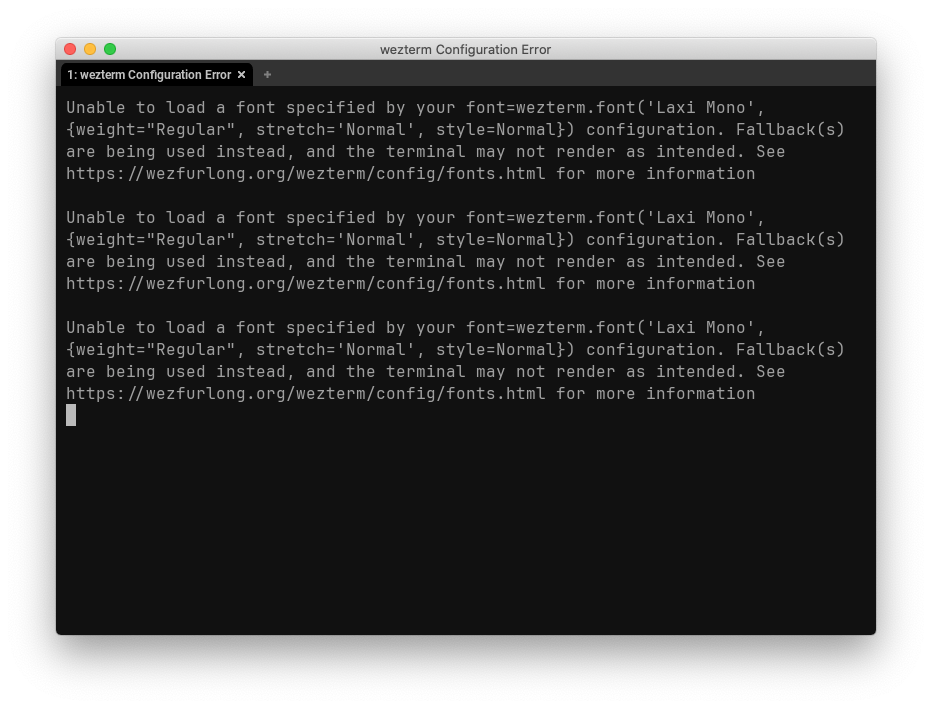
This happens because the configuration settings I gave you mention the use of the Luxi Mono font: that is a font which Giocoso ships with and will actually install for you automatically on Linux… but it doesn't know how to auto-install it on macOS! So… that you'll have to do yourself.
Open Finder, press Shift+Cmd+G and tell it to go to the /Users/hjr/.local/share/giocoso3/art folder (the “hjr” bit is my username: substitute in your own, obviously!). When you get there, you'll see this:
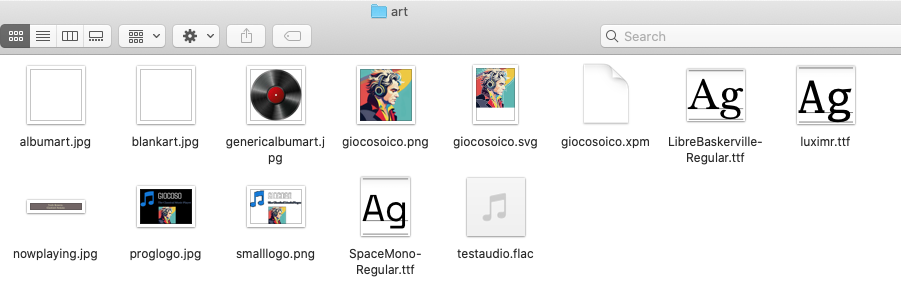
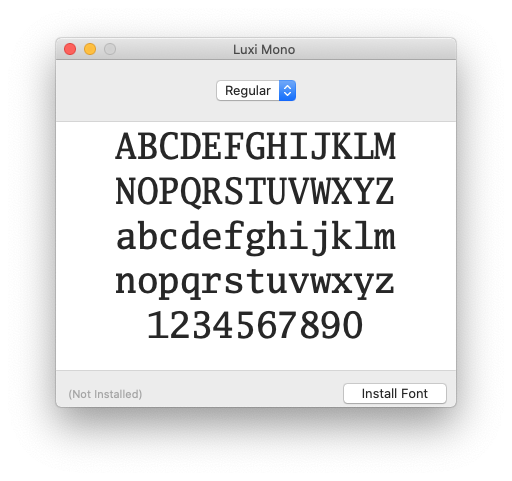
The icon labelled “luximr.ttf” is the Luxi Mono font: double-click it to launch the Font Book application and click the [Install Font] button:
Once the font has been installed, re-launch WezTerm and you shouldn't have any trouble seeing Giocoso in all its Luxi Mono glory, without error messages!
If you now take the Database Management menu, Option 1 you'll be able to create a database of what music files exist on your system. After that, you'll be able to take the Play Music menu, Option 1 and have some of it start playing to you:
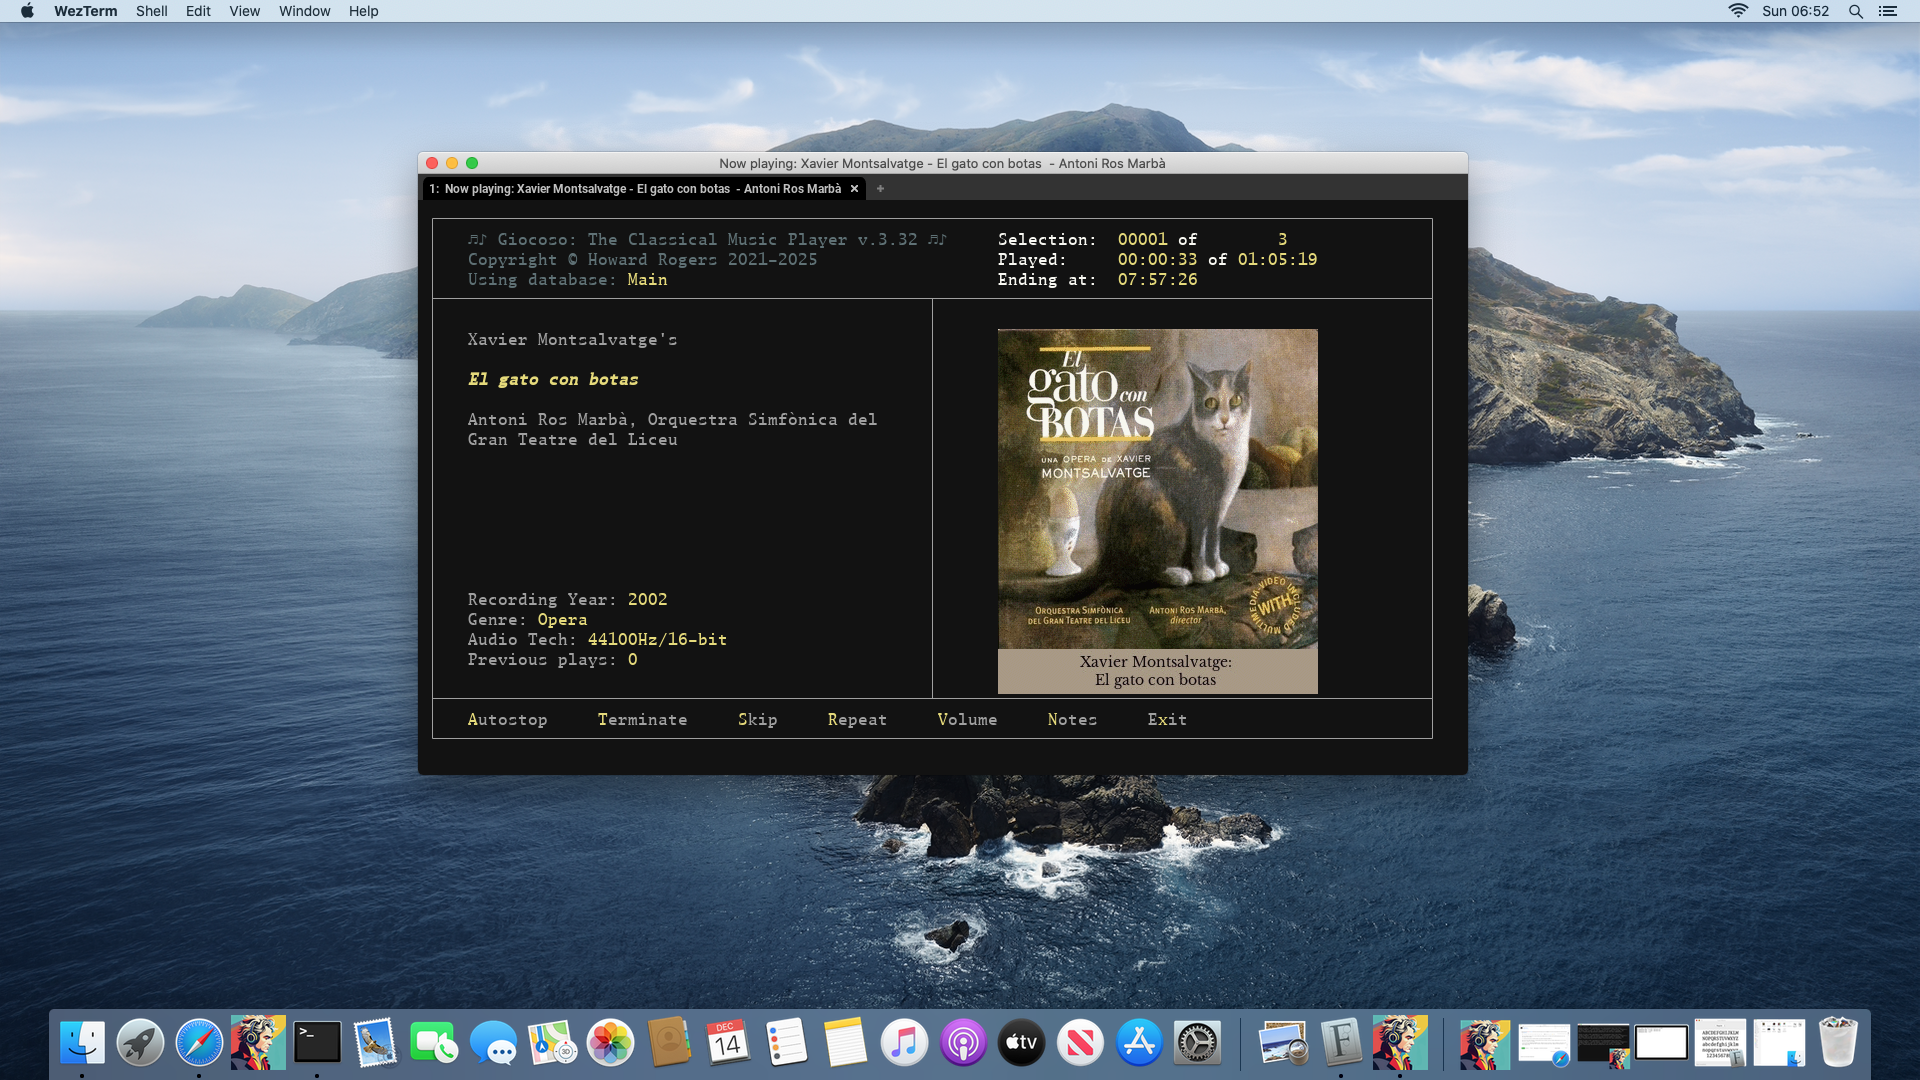
…music with in-terminal display of album art!
NB: discuss creating program icon etc.

6.0 Giocoso Pro Complications
Giocoso Pro is an extension to the basic Giocoso functionality of playing local music files: it allows a Giocoso instance to consult a remote database of what music files exist to determine what to play. This remote database is a MariaDB or MySQL database and thus your local Giocoso installation needs MariaDB or MySQL client software to talk to it.
Such a client has, in fact, been installed for you automatically, as part of the standard Giocoso installation. The trouble is that macOS won't know how to find it! Worse, what it should be hunting for changes depending on whether you use MacPorts or Homebrew as your installation package manager. For me, using MacPorts, the correct executable ended up being found in /opt/local/lib/mariadb/bin and was called mysql, even though Giocoso only ever installs the MariaDB client. In more modern releases of macOS, I'm lead to believe that the executable is actually called mariadb… but you'll have to work out if that's true for you or not, as I lack the hardware to test that claim out.
The key point to make is that Giocoso expects to find either a “mariadb” or a “mysql” executable in /opt/local/bin. Chances are that this is not where Homebrew or MacPorts put it, however! Therefore, we need to do some slight of hand to make it so: in a terminal, type the command:
sudo ln -s "/opt/local/lib/mariadb/bin/mysql" "/opt/local/bin/mariadb"
sudo ln -s "/opt/local/lib/mariadb/bin/mysql" "/opt/local/bin/mysql"
That creates a link between a placeholder called “mariadb” in the correct location to the actual executable in the weird and deeply-nested place that MacPorts put it. A functionally-identical link is also established between a placeholder called “mysql” in the right place to the actual executable. That means whether Giocoso issues “mysql” commands or “mariadb” ones, it will always find that actual executable.
With those links in place, you should be able to type the plain command:
mariadb
..or:
mysql
…and, in either case, get the same response:
ERROR 2002 (HY000): Can't connect to local MySQL server through socket '/opt/local/var/run/mariadb/mysqld.sock' (2)
Don't worry about the apparent error: that's just a consequence of not trying to connect to a specific database for now. The point is, if MariaDB or MySQL is producing error messages, the program has been found and is running: if you can find the program, so can Giocoso… and that means Pro functionality becomes possible.
| Back to Software Home | Back to Giocoso Documentation Home |